Are you hosting an event soon? If so, consider making your own place cards, so that guests know where to sit at the dinner table.
Project Supplies for Making Place Cards
- Paper (card stock)
- Scissors or small paper cutter
- Stickers or embellishments
- Marker or pen
Step by Step Directions for Making Place Cards
For this project, we made place cards for our Easter dinner.
Step 1: Cut card stock paper to size.
For this example, we used a 12 x 12 piece of yellow card stock scrapbook paper. Card stock is great to use for a place card because it’s a little heavier than regular paper.
We cut our paper into pieces that were 4 inches wide, by 3 inches tall.
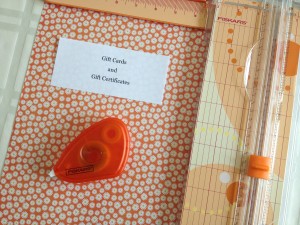
Hint: We used the Fiskars personal trimmer to cut the paper. It’s a handy tool to have, and can be found in the scrapbooking area of many craft stores. There’s even a ruler to help you measure the paper.
Step 2: Fold the card in half, so it now measures 1.5 inches x 4 inches.
Step 3: Next, add a design to your place card.
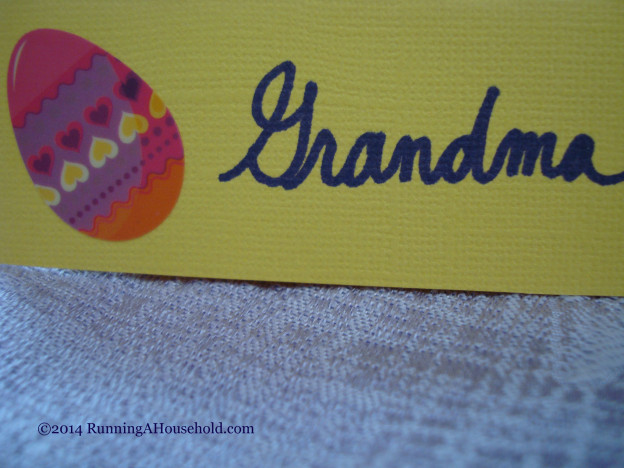
We used cute little Easter egg stickers. You can also use a small punch with a special shape, like a butterfly or flower.
Step 4: Last, write the name on the place card.
Ours are hand-written in cursive writing, using a purple marker. Even if your writing isn’t perfect, it is a more personal touch than adding a label.
Happy crafting! 🙂
You may also enjoy the following articles:
How to make your own greeting card
Hosting Easter? A Menu Planner, Cooking Timeline and Checklist You Can’t Miss


