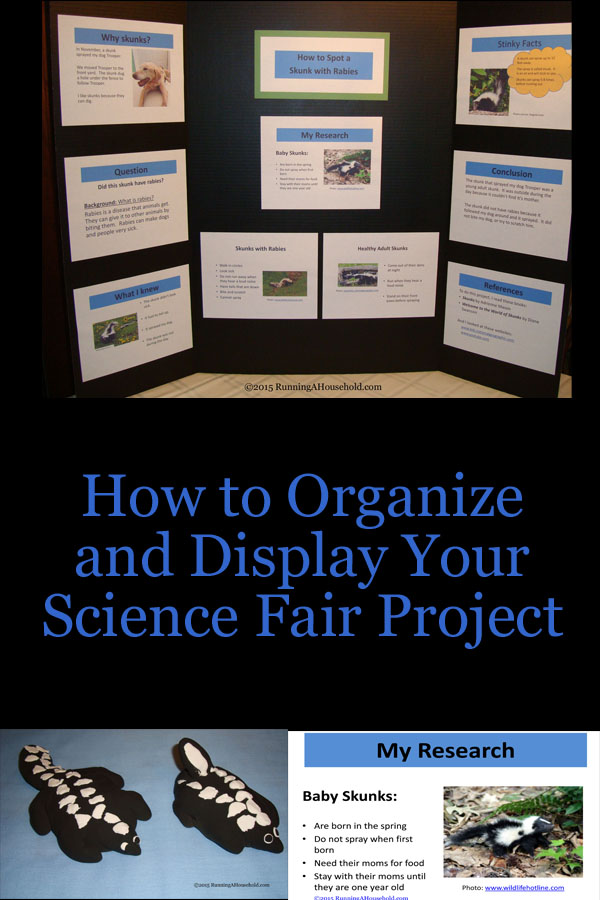
Part of running a household involves helping the kids with their homework and school assignments. We recently pulled together a project for a first grade science fair. Here are the details on how we gathered the information and organized the project.
Finding a topic for a science fair
We really thought it was important to let our child take the lead on the topic. It needed to be something he was interested in, and wanted to learn more about.
Our dog was recently sprayed by a skunk, and ever since then, our son has been fascinated by skunks. We took this opportunity to work with him to learn more about skunks, and document his findings.
Researching a topic for a science fair
There were several resources which we found helpful when researching skunks:
Library books – We read several books from the library. Each one gave us interesting information.
Websites: We played it safe, and stuck with National Geographic for Kids. We also found some helpful information at the San Diego Zoo website.
http://kids.nationalgeographic.com
Videos: We actually found several videos on YouTube which showed rabid skunks.
Documenting information for science fair
Did you know there is a specific format to document your research and findings for a science fair? We followed the steps outlined on
Since our son was only in first grade, we simplified some of the sections. We followed the general format for reporting. We drafted the information by talking with our son, and writing down what he said. Then we put the information into a Powerpoint presentation with pictures.
To see our presentation slides, click on the link below:
Organizing a display for a science fair
We opted to use the following materials to explain our research:
- Powerpoint Slides
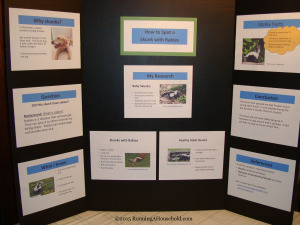
- Display Board: We printed the slides, and glued them to the 36×48 Elmer’s Tri-Fold Display Board. We opted for this size because it could display all of our information. It was also manageable to carry in to school on the day of the project.
- Fiskars Tape Runner: The extra sticky glue stick did not seem to hold our paper to the display board. Since we do a lot of scrapbooking, we opted to use our Fiskars Tape Runner. It is a small orange tool that holds double-sided tape. It worked like a charm, and held the paper in place.
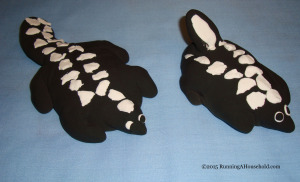
- Model clay: We demonstrated the difference between a healthy skunk and a skunk with rabies. We used simple black and white model clay from Crayola, which we purchased at Michael’s craft store.
Pictures from our science fair
The final display board was set up on a table at the science fair.
Here’s a close up of our clay skunks on display at the science fair. Can you spot the differences?
The skunk on the left is rabid. It’s tail is down, it’s fur looks wrangled and it looks sick.
The skunk on the right is healthy. It’s tail is up, and it looks healthy.
Next Steps
For more ideas about science fairs, as well as Running A Household, be sure to follow us on Pinterest: Click here
You may also enjoy the following articles from our website:
Need more organizing ideas? Check out: Toolbox: Organization
Happy Organizing!

