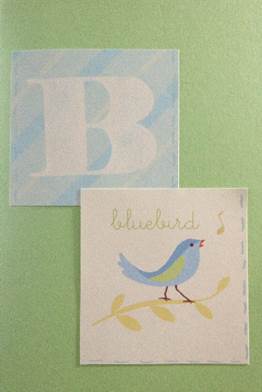
Are you looking to save a few dollars? Consider making your own greeting cards.
Project supplies
- Paper (card stock)
- Scissors or small paper cutter
- Scrapbook paper (lightweight)
- Adhesive
Step by Step Directions
For this project, we made a congratulations card for the arrival of a new baby.
Step 1: Cut card stock paper to size.
For this example, we used an A6 envelope, which measures 6.5 by 4.75 inches.
We cut our card stock paper to 6 x 9 inches. Card stock is great to use for a card because it’s a little heavier than regular paper.
Hint: We used the Fiskars personal trimmer to cut the paper. It’s a handy tool to have, and can be found in the scrapbooking area of many craft stores.
Step 2: Fold the card in half, so it now measured 6 x 4.5 inches.
Step 3: Next, we cut out the design for our cover. We selected scrapbook paper by K and Co.
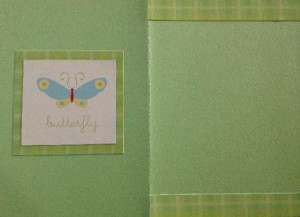
Step 4: This step is optional, but it gives a more finished look to the card.
We selected a lightweight scrapbook paper with a pretty design to line the inside of the card.
Step 5: Glue all of the pieces to the cardstock.
For our adhesive, we chose Fiskars Tape Runner. It’s easy to maneuver, and lets us put the adhesive in small pieces or larger ones.
Happy card making! 🙂
Are you looking for a few more projects to do with scrapbooking paper? Check out these articles:
How to Organize and Store Your Receipts


